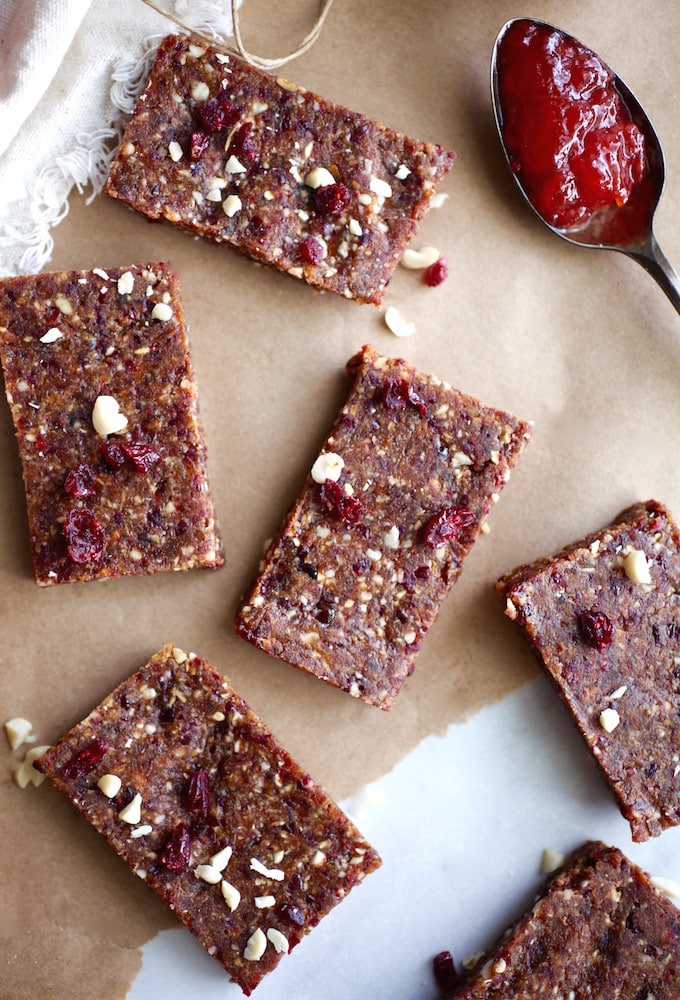
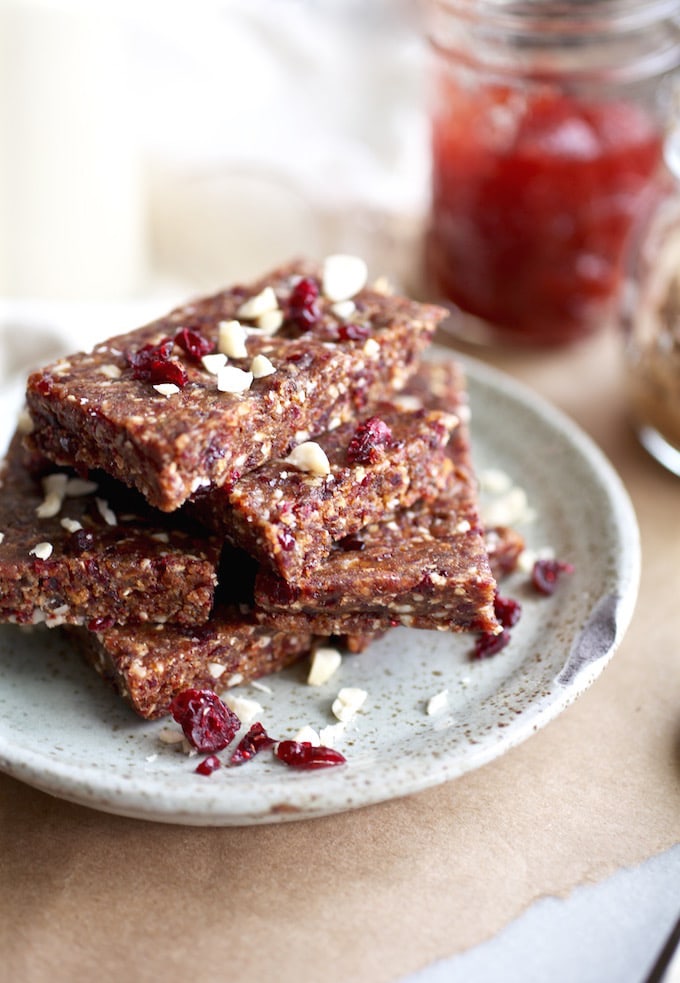
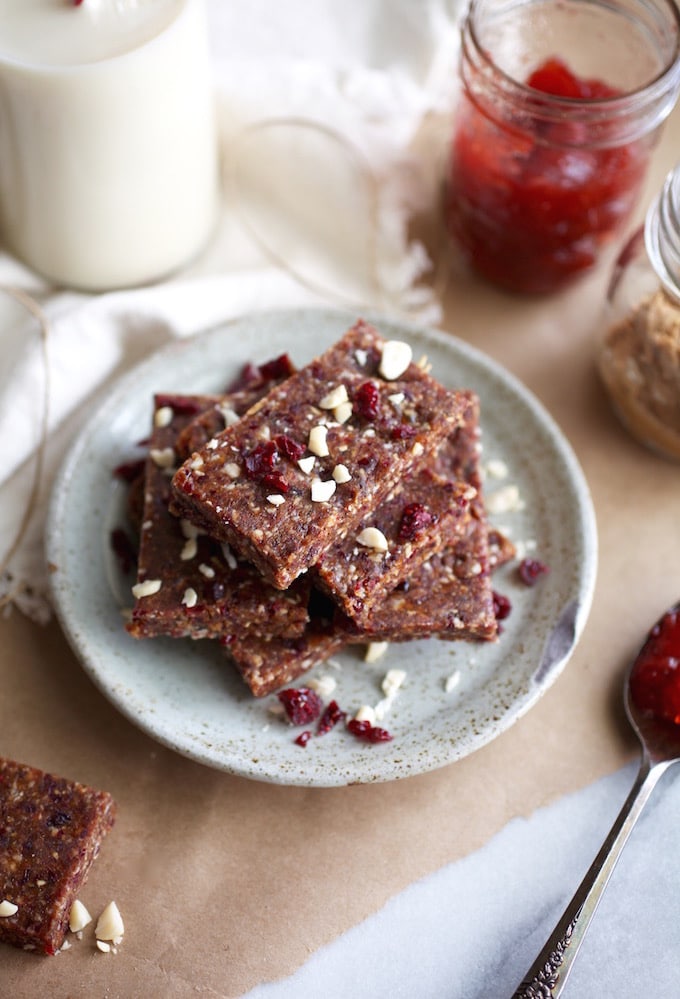
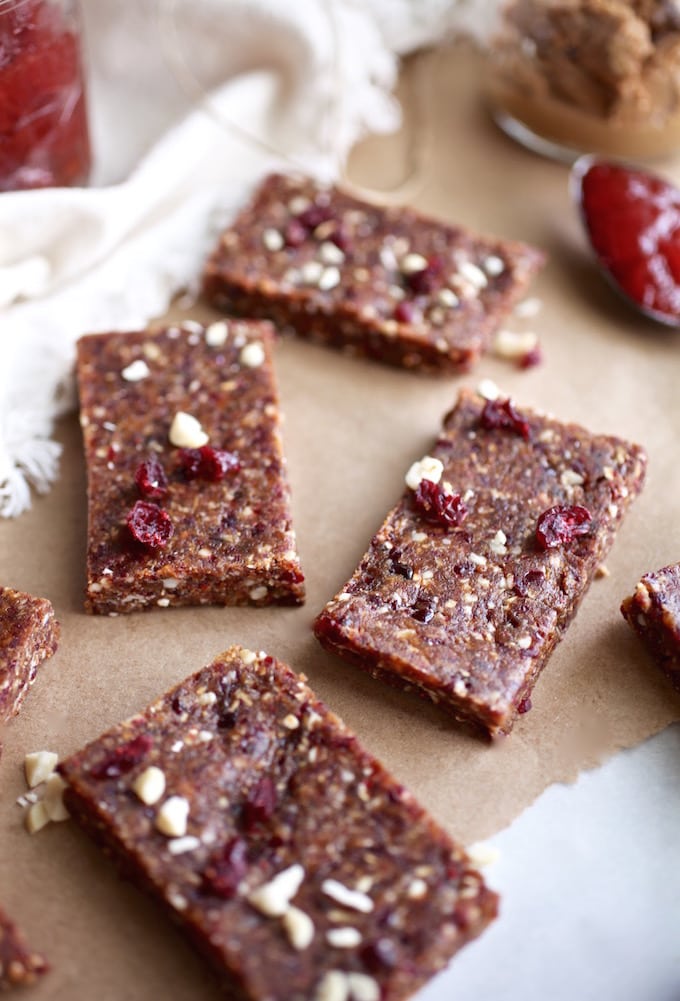
These healthy and delicious vegan peanut butter and jelly energy bars are perfect for snacking, vegan, gluten free, and made with natural sweetness!
If you’ve got an extra 10 minute this gorgeous Sunday, I’ve got a plan for you!
Grab your food processor and whip up a batch of these Vegan PB & J Energy Bars. They are perfect for a breakfast on-the-go or a healthy snack to have during the week. Plus, they are way cheaper than store-bought energy bars which can easily run you $3 each.
My favourite thing about homemade energy bars, balls, or bites, is that they are unbelievably easy to make and even easier to take to work during the week for an afternoon pick-me-up, give to the kiddies for an after-school snack, or to enjoy for naturally energizing pre-workout option!
Using only 5 whole-food ingredients these bars truly replicate the mouthwatering flavours of a classic peanut butter and jam sandwich… just a single bite brings back memories of being a kid as PB & J was one of my absolute favourites.
Unfortunately the PB & J combo I enjoyed so much as a kid, was not always the healthiest one. From what I remember, those sandwiches were made with hydrogenated sweetened peanut butter and sugar-laden jam on top of two slices of glistening white “roll-it-into-a-ball” (wonder)bread.
Whole-foods present = zilch, nada, nil, zero.. you get the point.
So, to put a good NITK twist on things, I made sure that these energy bars pack a nutritional punch but still taste like a deliciousPB & J sandwich.
These bars are high in fibre at 7g per bar, provide a little dose protein, natural sweetness from the dates for quick releasing energy, and a nice boost of antioxidants! The big bonus… they only take 10 minutes to make, and a 30-minute wait as they sit in the freezer to set.
Are you a PB & J fan? How do you enjoy this delicious flavour combination in a healthier way? I’d love to hear about it in the comments below!
- 1¾ cup pitted dates (soaked in warm water for 15 minutes, then drained)
- ½ cup unsweetened dried cranberries (or naturally sweetened if you can't find unsweetened)
- ¼ cup natural peanut butter
- ¼ cup whole blanched peanuts
- ½ cup gluten free quick oats
- Soak the dates in warm water for 15 minutes, and drain.
- Place dates, dried cranberries, peanuts, peanut butter, and oats in a food processor and blend until combined well.
- Scoop mixture into a square baking pan, and firmly press down to make an even layer.
- Place in the freezer for 30 minutes to set, then cut into 8 rectangle bars.
- Store in the freezer or fridge.
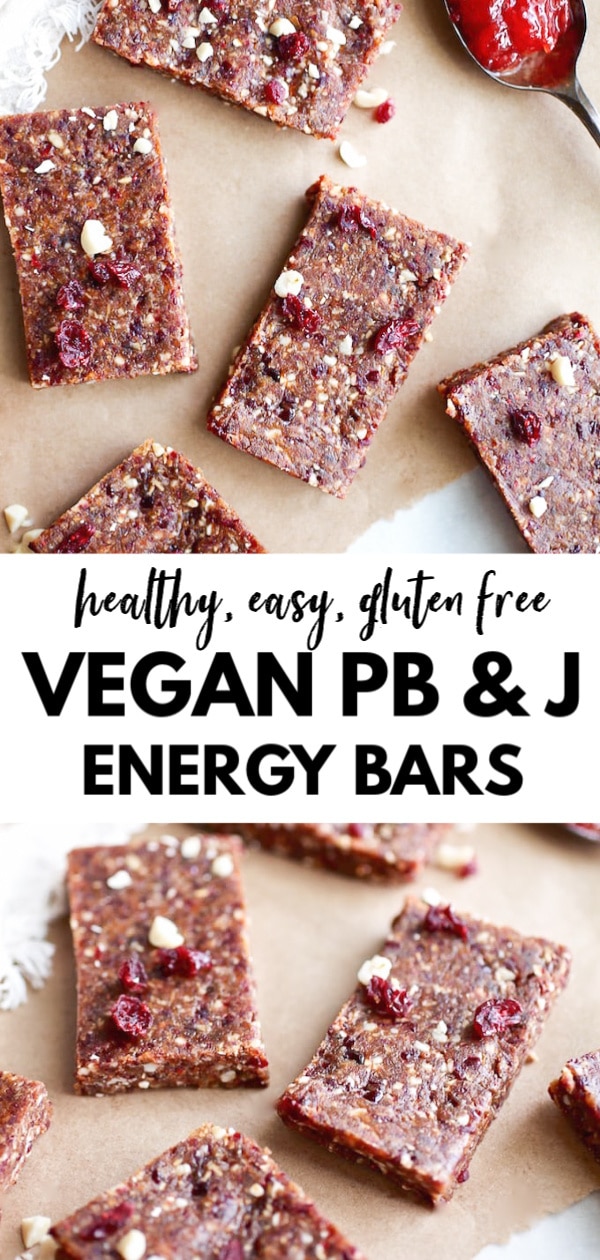
Pin me!
If you haven’t been following along to see my travel updates yet, be sure to pop on over to my instagram!
Christal // Nutrition in the Kitch


I’ve had them on the freezer for several hours 🙁 maybe it was the type of date I used. Trying to think of how to salvage this.
That’s really odd! I have no idea why?! Did you drain the dates well before processing? Hmm, I’m really sorry Laura!! 🙁
I followed you directions exactly and they are too mushy to even be called bars! Is there any thing I can do? Bake them?
Hi Laura! Did you let them firm in the freezer?? They are supposed to be stored in the fridge or freezer, at room temperature they will become very soft.
Would these still be good without the dates?
The dates make up the bulk of them… if you wanted to try something else, you could try using raisins and add in extra oats and nut butter! I’m not totally sure how well it would turn out though!
Making these tomorrow!!! I love your creativity!
Thanks Amanda! Enjoy! 🙂
Hi! I’m starting a Daniel Fast tomorrow and this recipe is wonderful! I do have one question however. How long do you think these bars last unrefrigerated? I would like to send some to my brother down in California. (I’m from Oregon). Do you think they’ll survive the trip?
Hi Amy! That’s great! I would guess that the bars should stay good for at least a week even if left unrefrigerated. I always keep mine in the freezer and they last at least a month – that’s usually when I’ve eaten them all!! I would recommend packing them with a sheet of wax paper between each bar and in an airtight container. They do soften quite a bit when left unrefrigerated so this would prevent them from sticking together and turning into one big sticky bar! Also maybe consider freezing them before shipping!
I’ll be adding these ingredients to my grocery list this week so I can try this! Thanks Christal!
You’ll love them! 🙂
These sound great, do you think using almond butter would work well?
Definitely!
These are exactly the kind of thing I like to pack along with me when I’m traveling. Sweet (naturally), protein filled, and filling! Thanks for posting the recipe, I’ll definitely be giving it a try.
Thanks Katie!! They are wonderful as a bring along snack! I had one packed in my purse yesterday while I was out and about on-the-go! 🙂
Also, where does one buy pitted dates?
Bulk section grocery store – where the dried fruit is!
Christal: With recipes like these that require a food processor, do you use the smaller bowl, i.e., the 3-cup bowl with the blade to slice this stuff up and blend it? I haven’t tried this one, or the Hallowe’en cookies, or those delicious bars, but I want to, but I’m hesitant, because I don’t know HOW to use the food processor on these recipes, exactly.
Hey Randy! I always only just use the large bowl in my food processor, with the one blade at the bottom – so technically I use it much like a blender! I don’t often use the other blades and functions!
Thanks, Christal. I made these tonight. Messy but delicious!
Glad you liked them! I saw your pic and I think you may have needed to press the mixture down a little more firmly, it should all really stick together!