
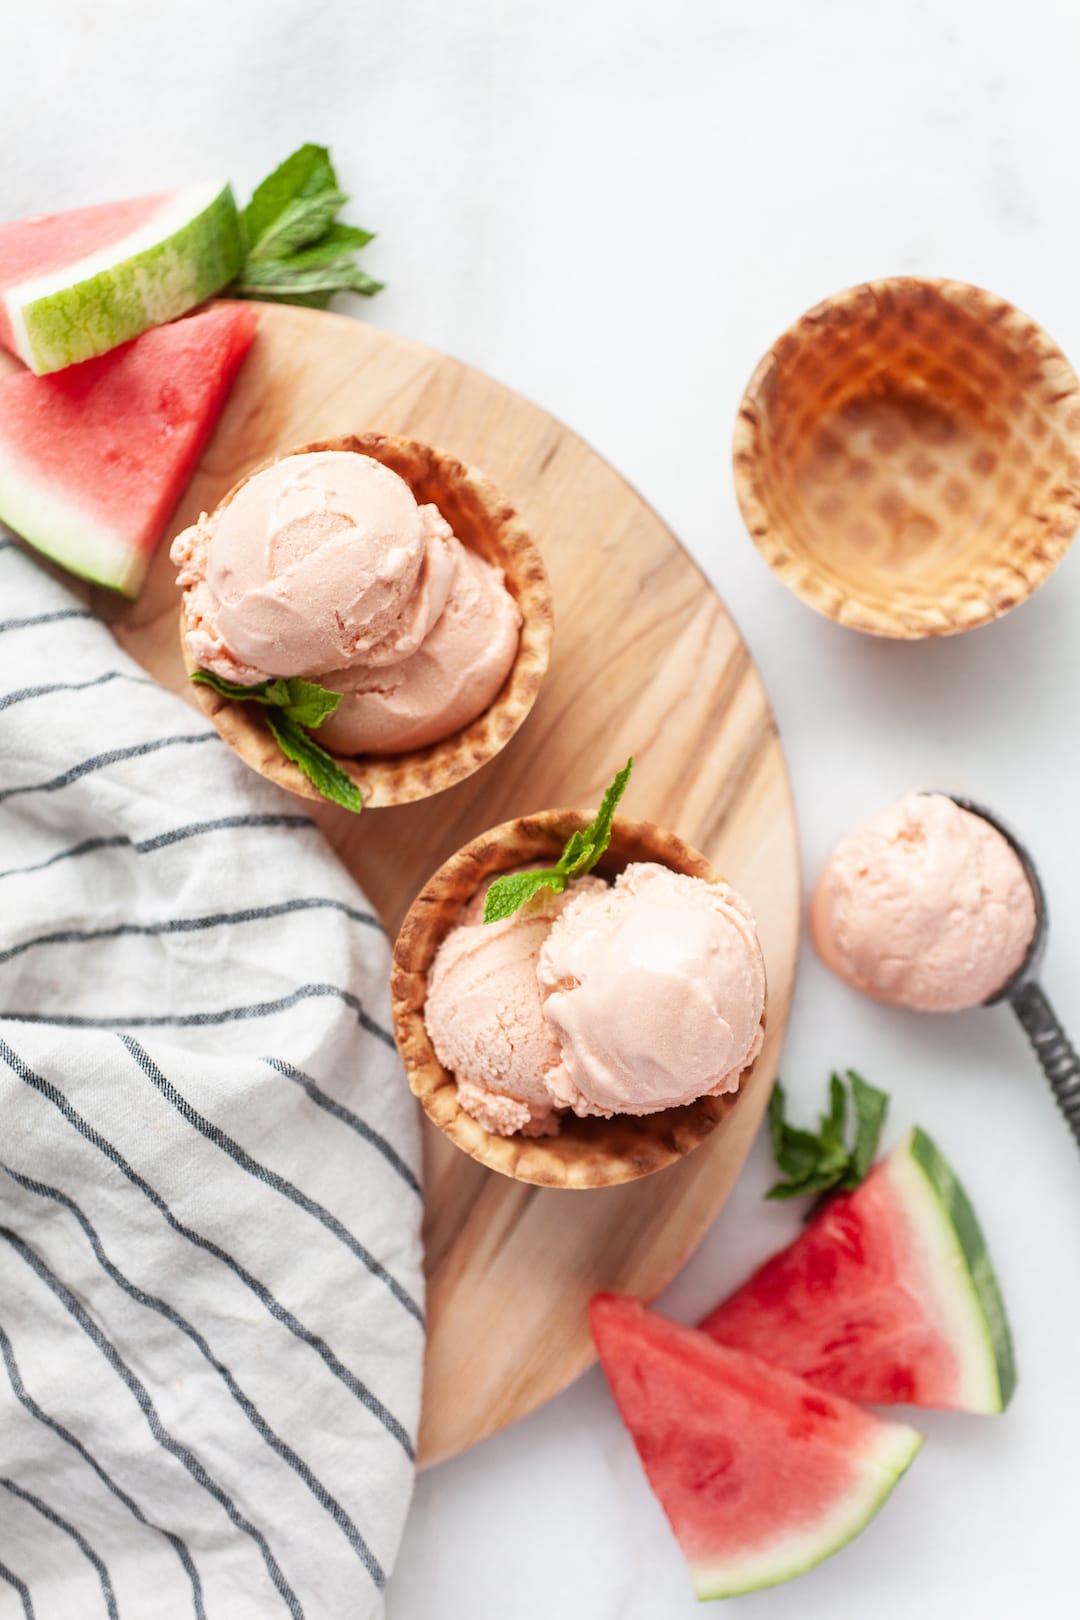
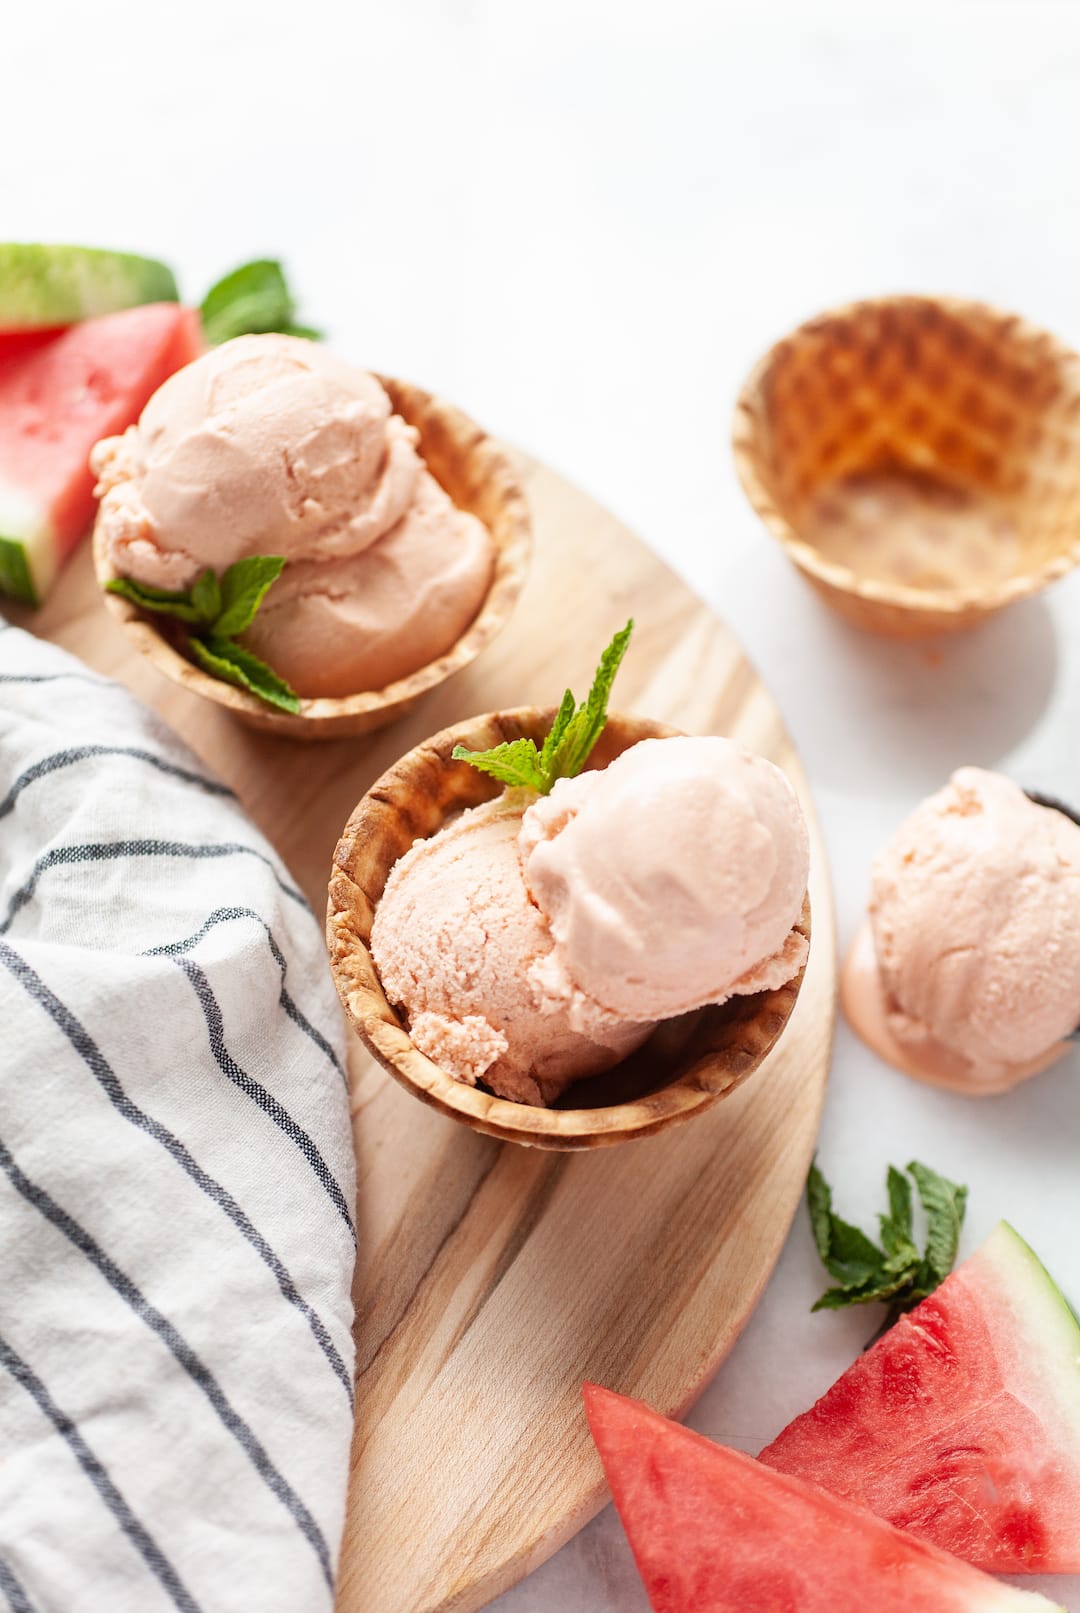
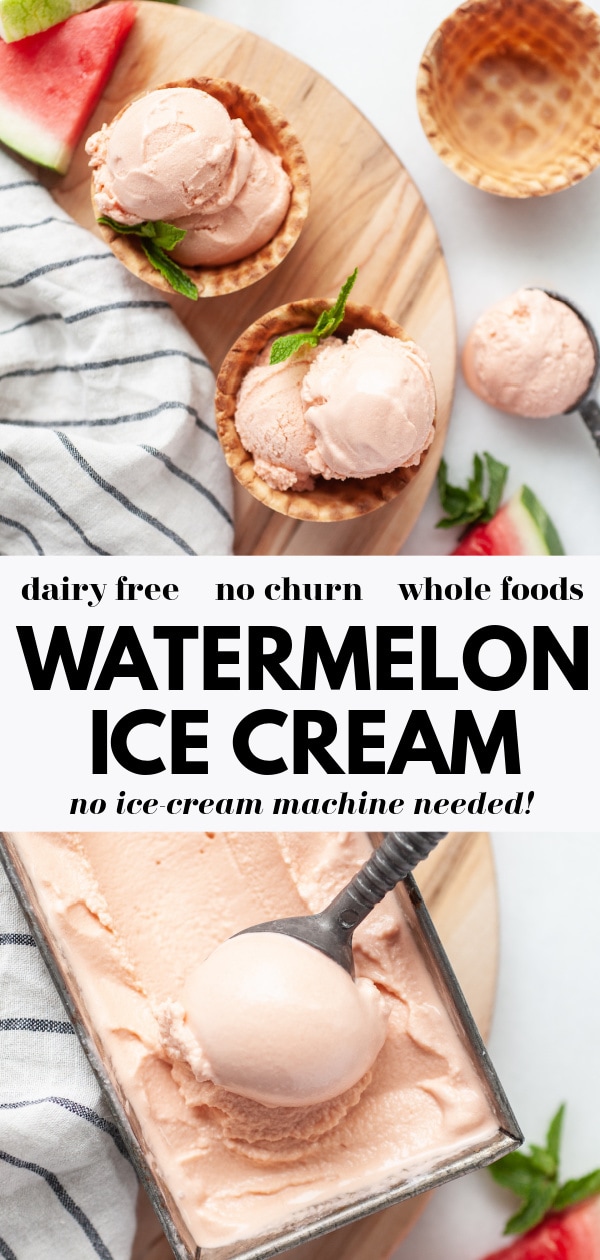
This delicious dairy-free watermelon ice cream is perfect for a healthy, cool treat. It’s vegan, gluten free, and so easy to make with no ice cream machine needed (no churn)!
Let’s Make Watermelon Ice Cream
It’s general consensus that the all-time-favourite summer food for most people is watermelon. Of course there’s the odd duck who doesn’t like watermelon (seriously?) but for the most part it’s a big crowd-pleaser and a must-have at any summer gathering.
On a hot summer day this perfectly sweet, hydrating, juicy, and nourishing fruit definitely hits the spot and it’s oh-so-good for you. Watermelon is packed with vitamin C, making it a natural anti-inflammatory and antioxidant, and as the name suggests, it’s loaded with water making this fruit a natural diuretic that helps cleanse the body.
Ingredients for Watermelon Ice Cream
I’ve recently updated the recipe for this delicious homemade ice cream to change the base from coconut to cashew. I prefer cashew based dairy free ice cream over coconut but I’ve decided to share both ingredients lists so that you can decide between Option 1 and Option 2!
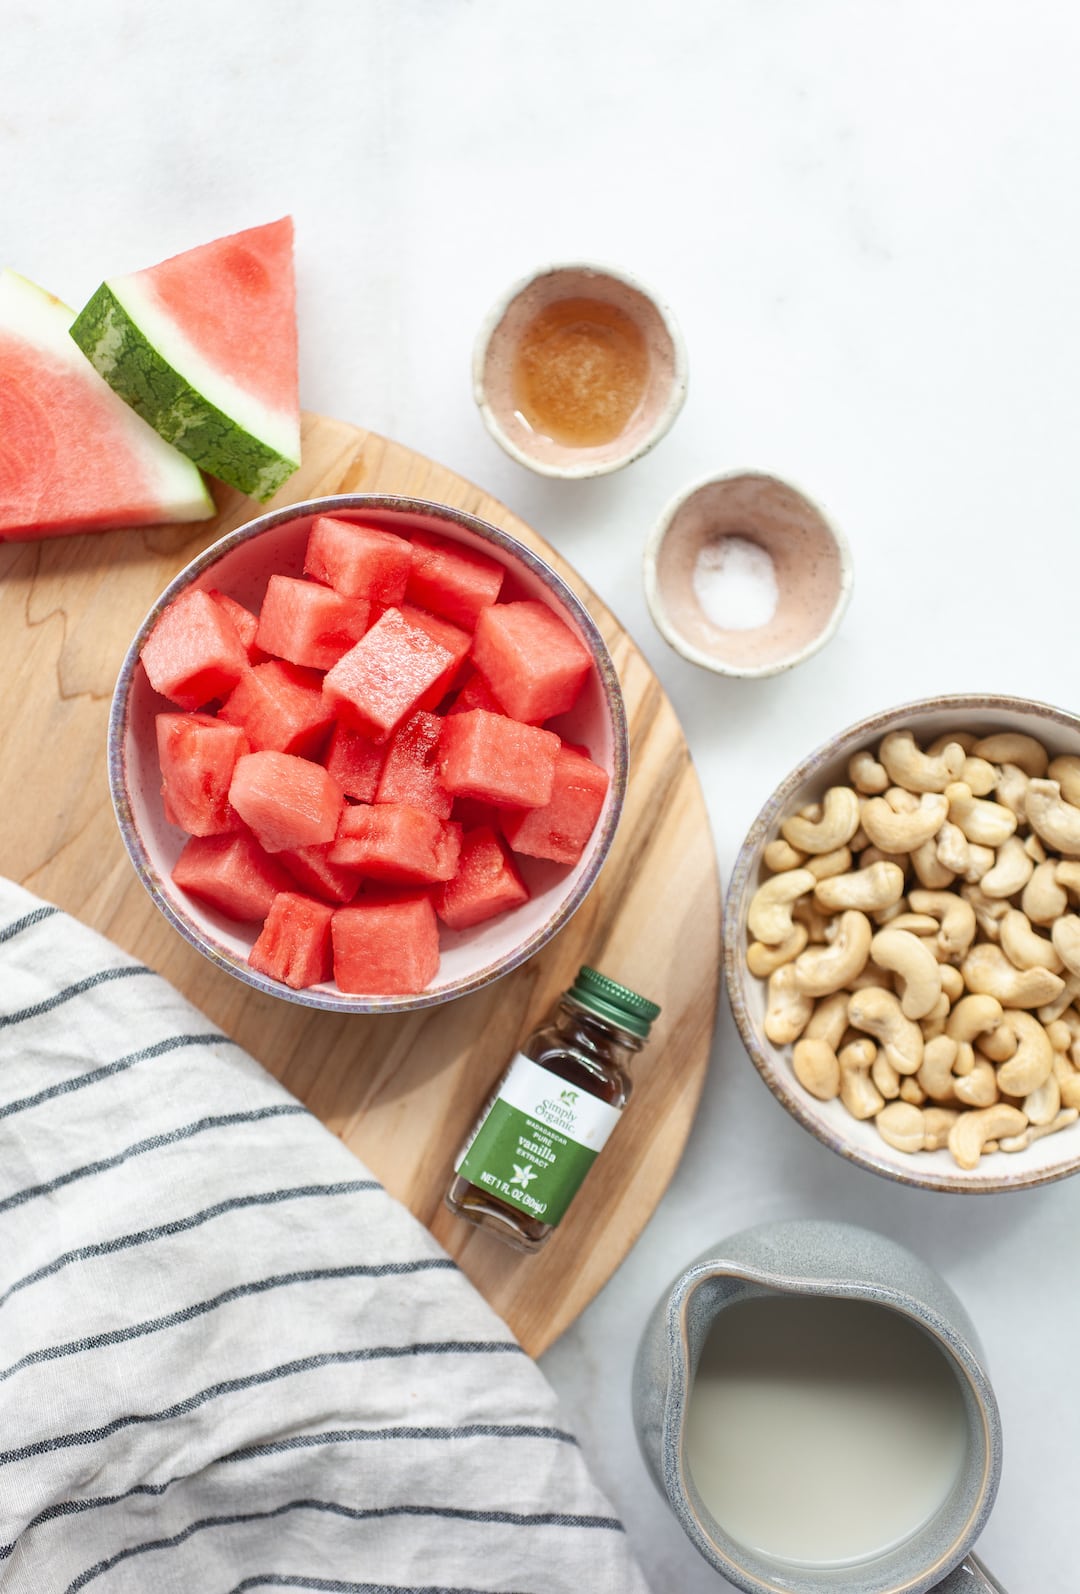
Here’s what you’ll need for Option 1: Cashew Based
- Raw cashews
- Unsweetened almond milk
- Honey or Pure maple syrup
- Pure vanilla extract
- Watermelon
- Salt
The combination of cashews and almond milk make a very subtle creaminess that blends wonderfully with the sweetness from the honey, watermelon, and the touch of vanilla. The salt amplifies the flavours in the ice cream and is totally optional.
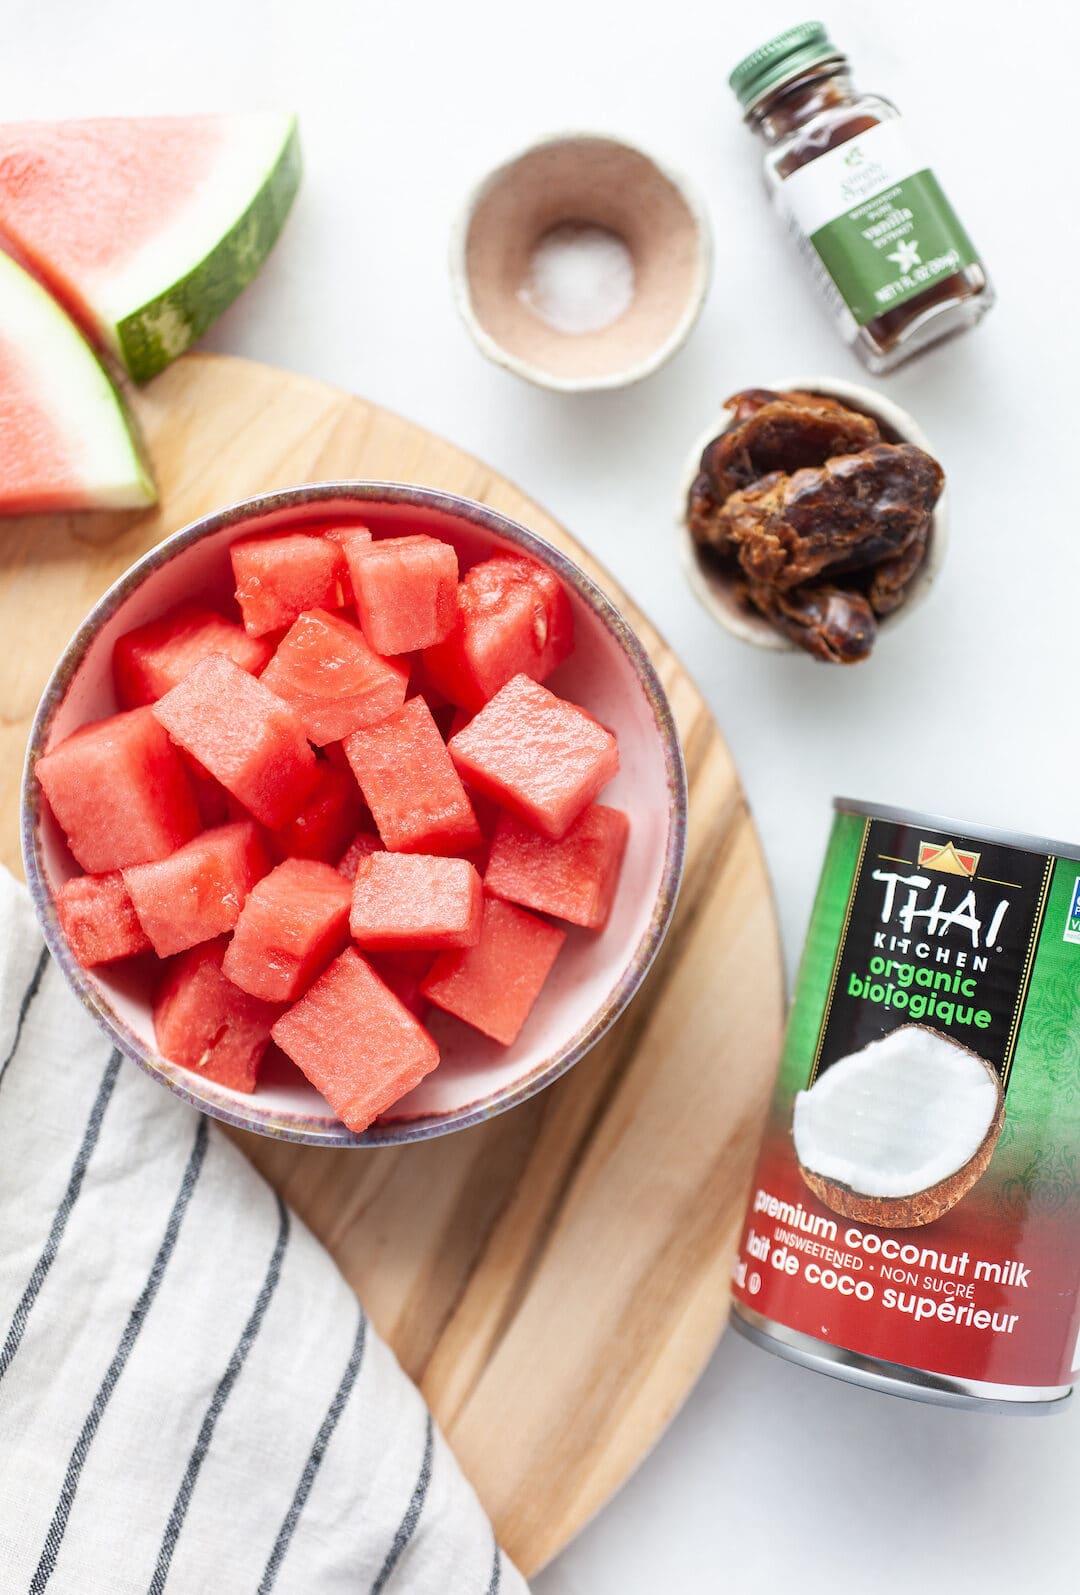
Here’s what you’ll need for Option 2: Coconut Milk Based
- Coconut milk (canned, full fat)
- Pitted dates (I prefer medjool dates)
- Pure vanilla extract
- Watermelon
- Salt
NOTE: The ice cream will be more of an orange color (rather than pink) with this option, but still taste delicious!
The combination of creamy coconut milk with the sweetness from the dates and the touch of vanilla goes perfect with the refreshing and sweet watermelon. The salt is optional here as well but just a touch actually pulls out all the flavours to make them even more intense!
How do you make watermelon ice cream?
Making homemade ice cream doesn’t have to seem daunting, especially if you don’t have an ice cream maker. All you need is a high-speed blender, like a vitamix, and some patience! Here’s what you’ll do:
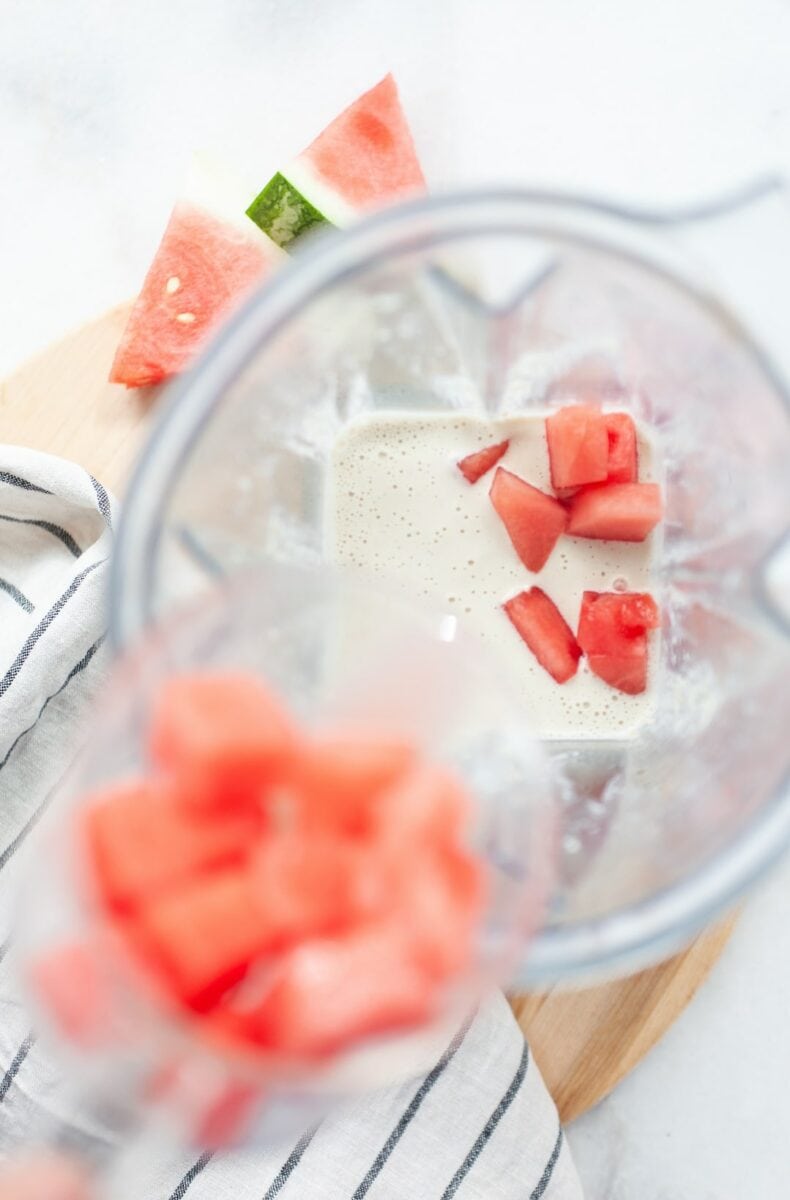
1. For Option 1: Soak the cashews in hot water for 10 minutes then drain. Combine the cashews with the almond milk, honey, vanilla, and salt in a high-speed blender and blend until completely smooth (and no chunks of cashew remains). Add in the watermelon and blend again until smooth.
For Option 2: Add all the ingredients to a blender and blend until completely smooth.
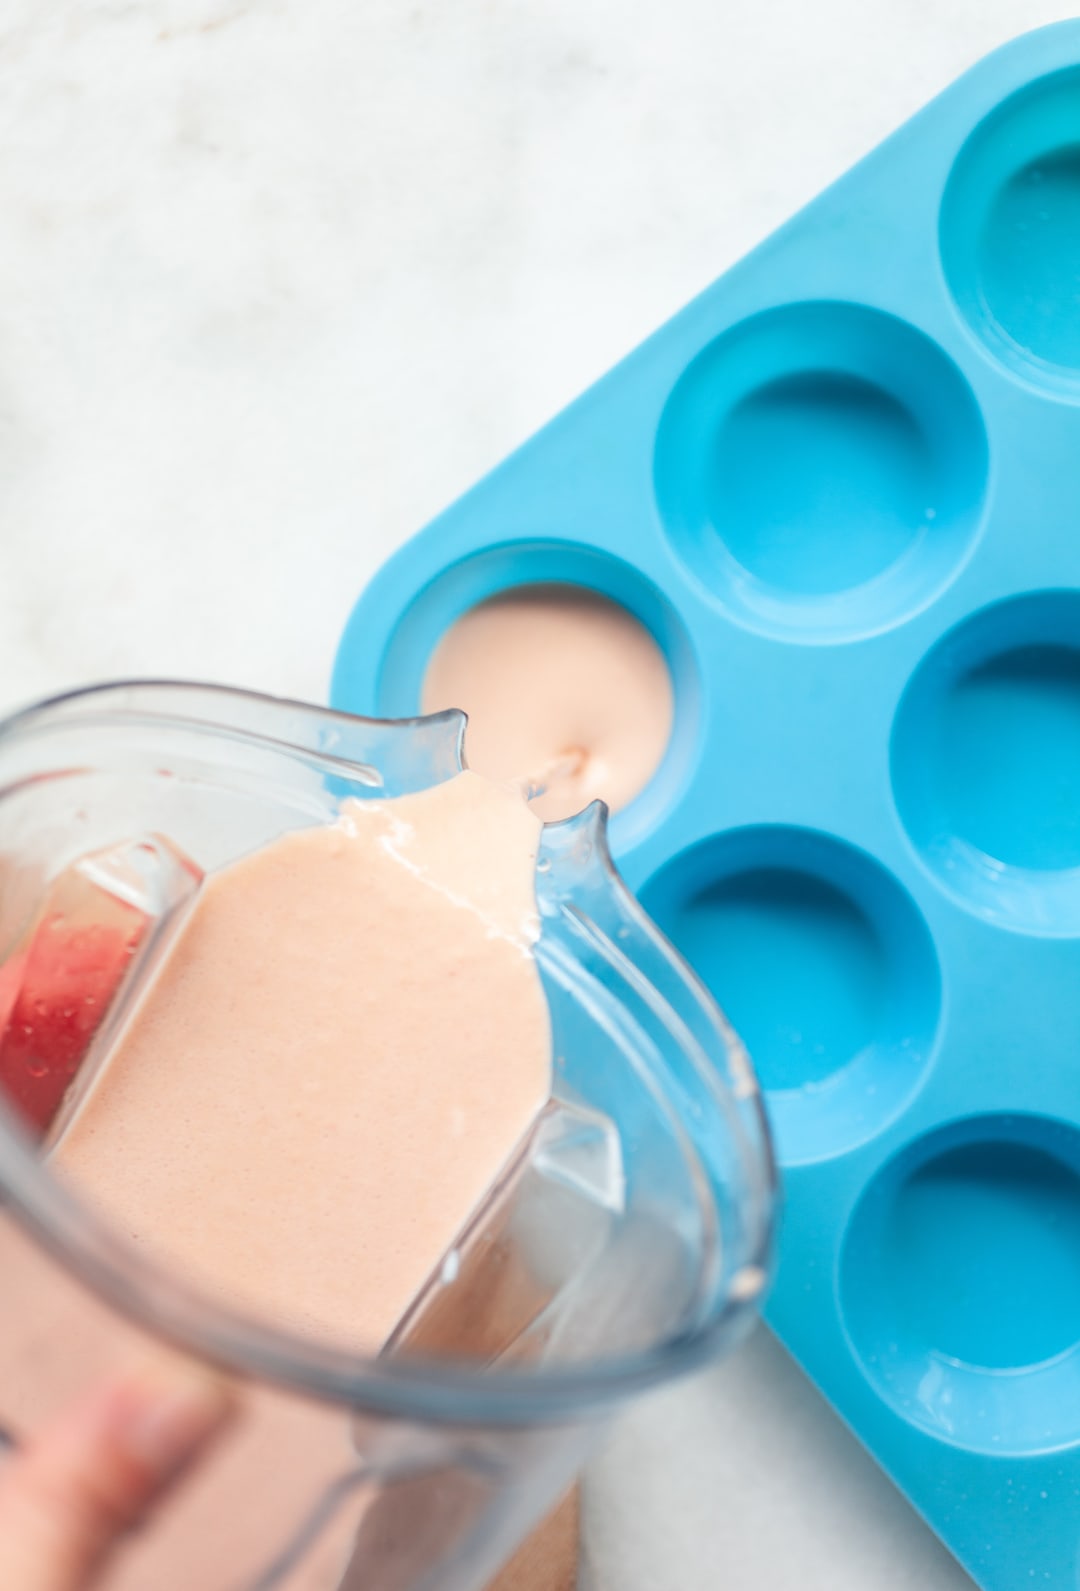
2. Transfer to a shallow pan or pour into a silicon muffin mold and place in the freezer for 3-4 hours until frozen.
3. Remove from the freezer and break the watermelon into chunks or pop the frozen pieces out of the muffin mold then place them back in the blender.
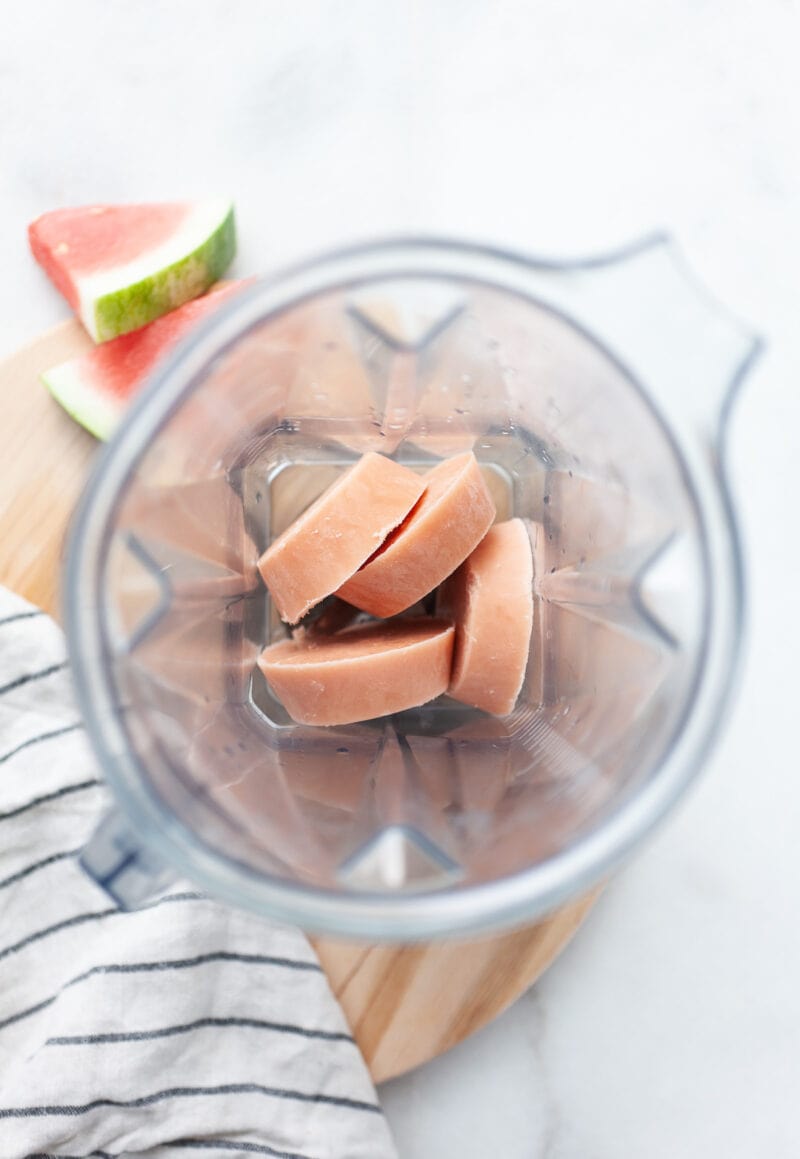
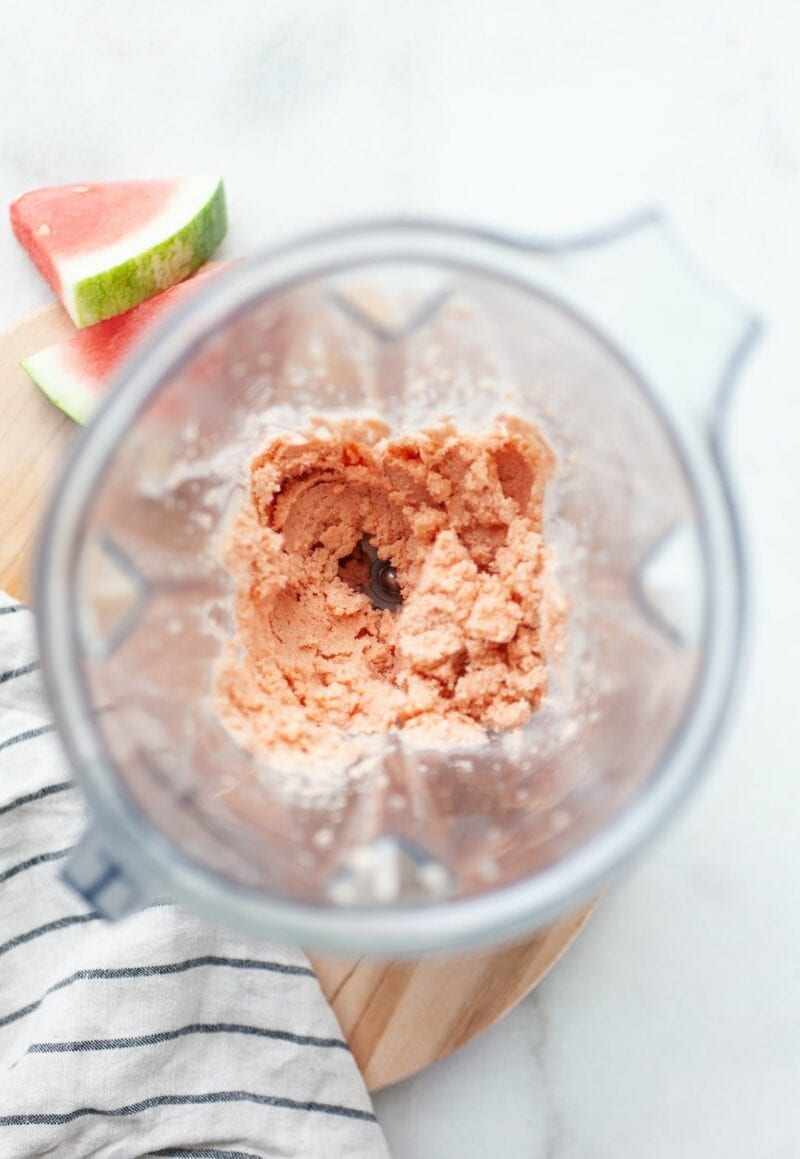

4. Blend again until a thick, soft-serve consistency is achieved (this method is great if you don’t have an ice cream maker).
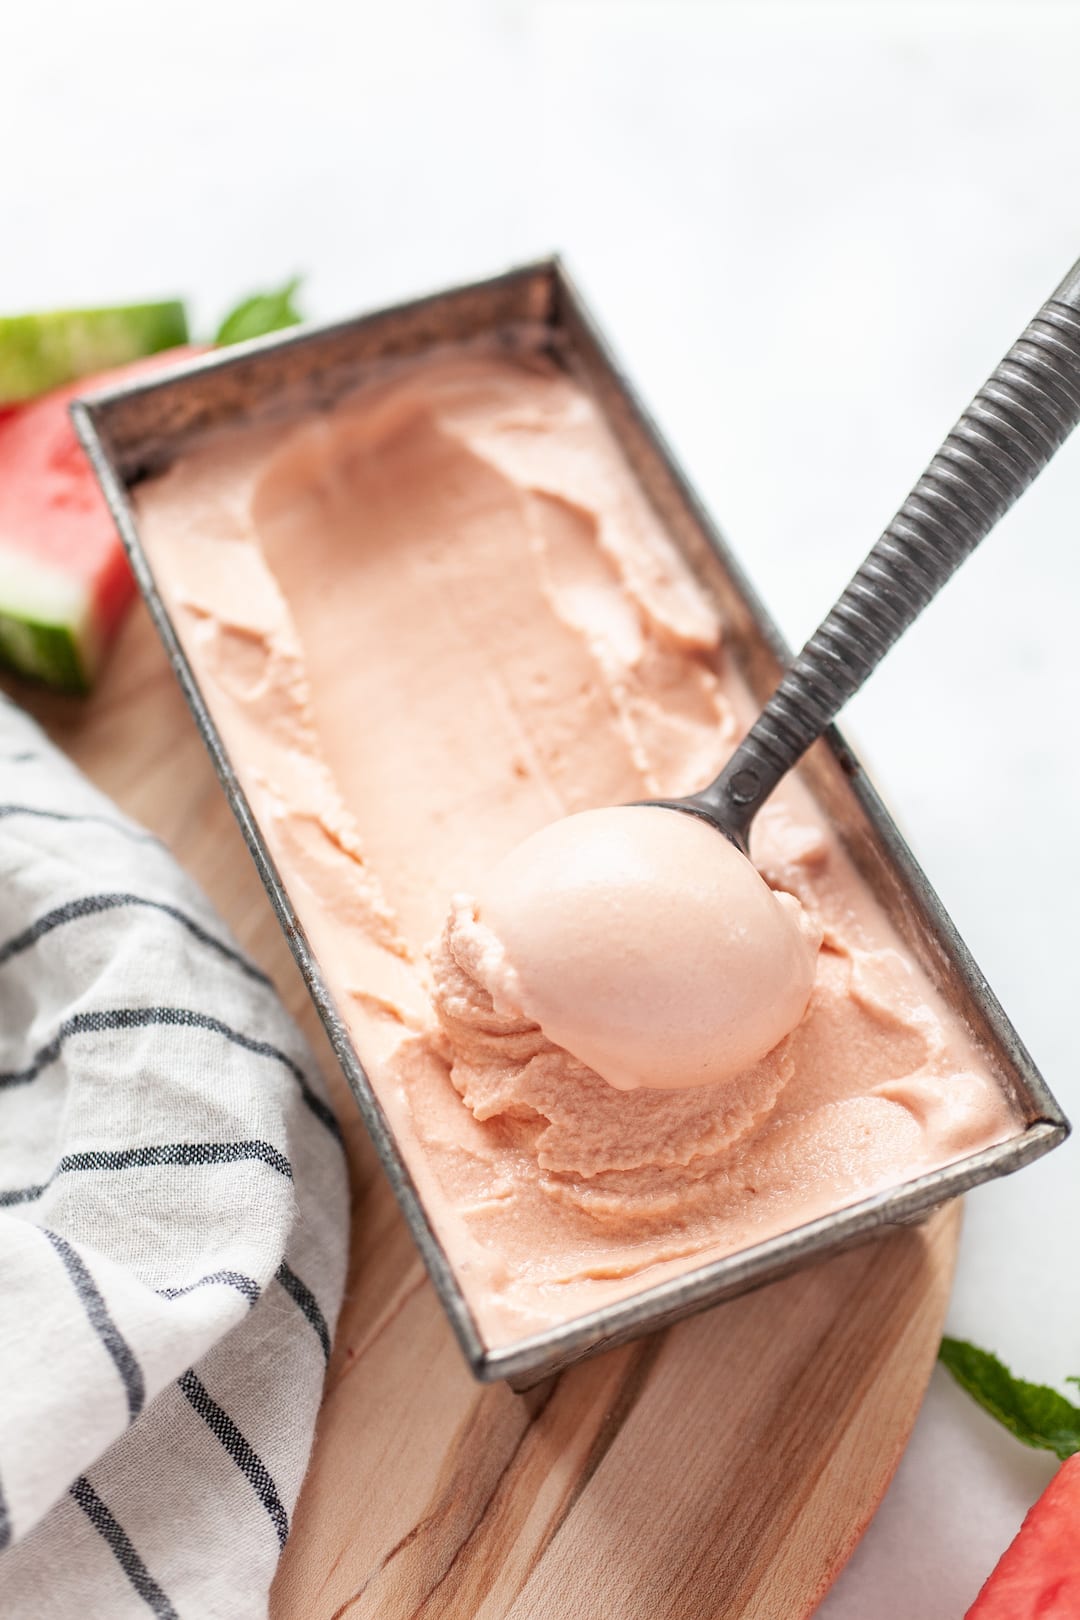
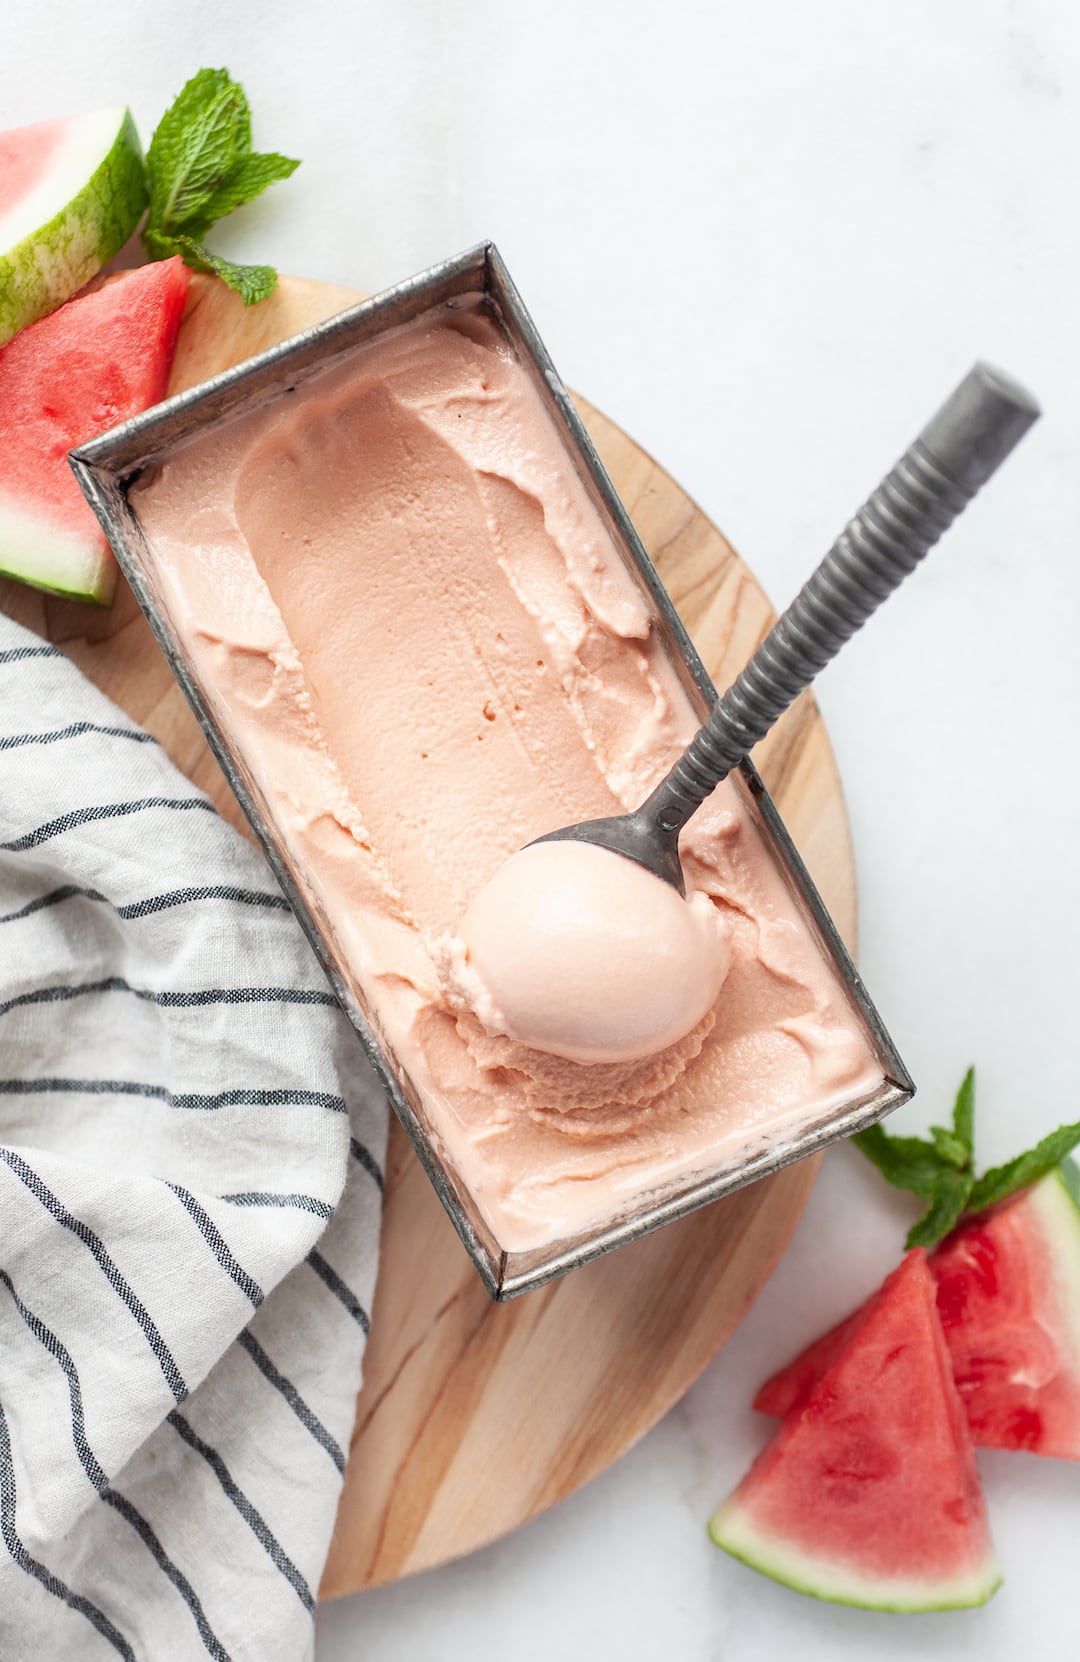
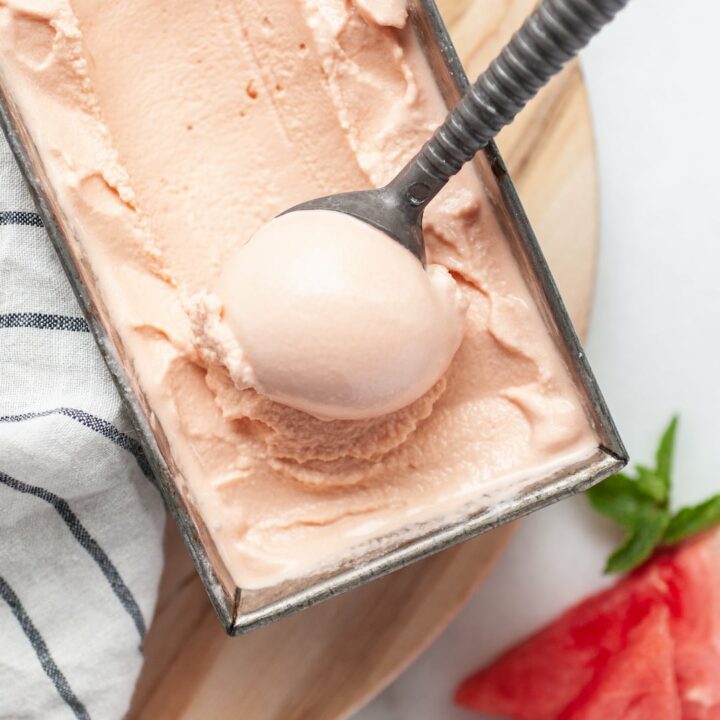
5. Transfer to a loaf pan and scoop, or pop back in the freezer for 30-more minutes if you prefer a harder ice-cream consistency.
6. Enjoy!
Is Vitamix ice cream good?
When it comes to making ice cream in a Vitamix like I do for this recipe, there’s a lot of positives. First, you don’t need a pricey ice cream machine which you might only use a few times a year, second the cleanup is super easy, and third you can make all kinds of combinations.
I do recommend following the method I’ve listed for this watermelon ice cream recipe if you are going to try any different flavours with a Vitamix and that is to freeze the blended mixture and then re-blend the mixture again after it’s frozen.
Because the Vitamix is a heavy duty high-speed blender, it can handle blending completely frozen hard ice cream into a smooth, creamy, thick and scoop-able consistency.
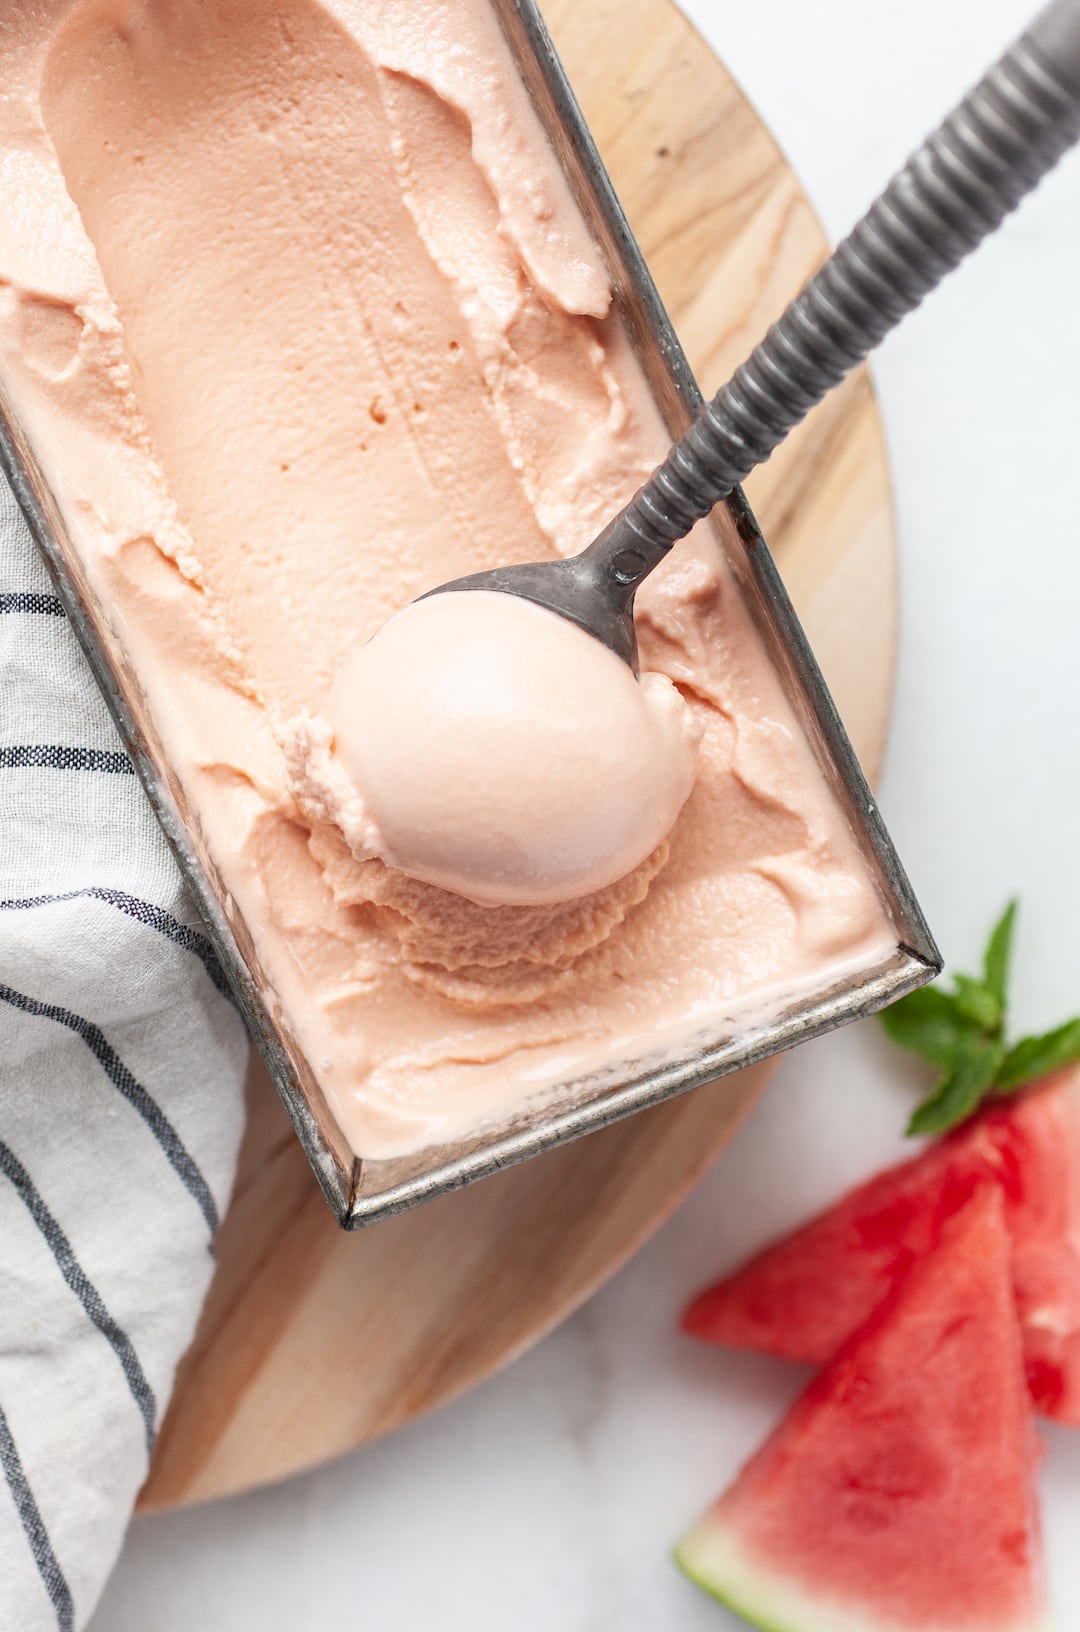
When I put the first spoonful of creamy watermelon ice cream in my mouth I was so pleasantly surprised with the vibrant watermelon flavour.
Isn’t it so great that all you need is a blender and you can make your own ice cream with barely any effort at all?! Next I plan to try apricot ice cream, blueberry ice cream, maybe even coffee ice cream? The sky’s the limit my friends!
Watermelon Ice Cream
Delicious homemade dairy free watermelon ice cream recipe that’s vegan, super easy, has no refined sugars and is “no churn”.
Ingredients
Option 1 - Cashew Based:
- 1 cup raw cashews
- 1 cup unsweetened almond milk
- 2 tablespoons pure maple syrup or honey
- 1/2 teaspoon pure vanilla extract
- 1 1/2 cups cubed watermelon
- pinch salt
Option 2 - Coconut Milk Based:
- 1 can full-fat coconut milk
- 5 pitted dates (medjool dates work great)
- 1/2 teaspoon pure vanilla extract
- 1 1/2 cups cubed watermelon
- pinch salt
Instructions
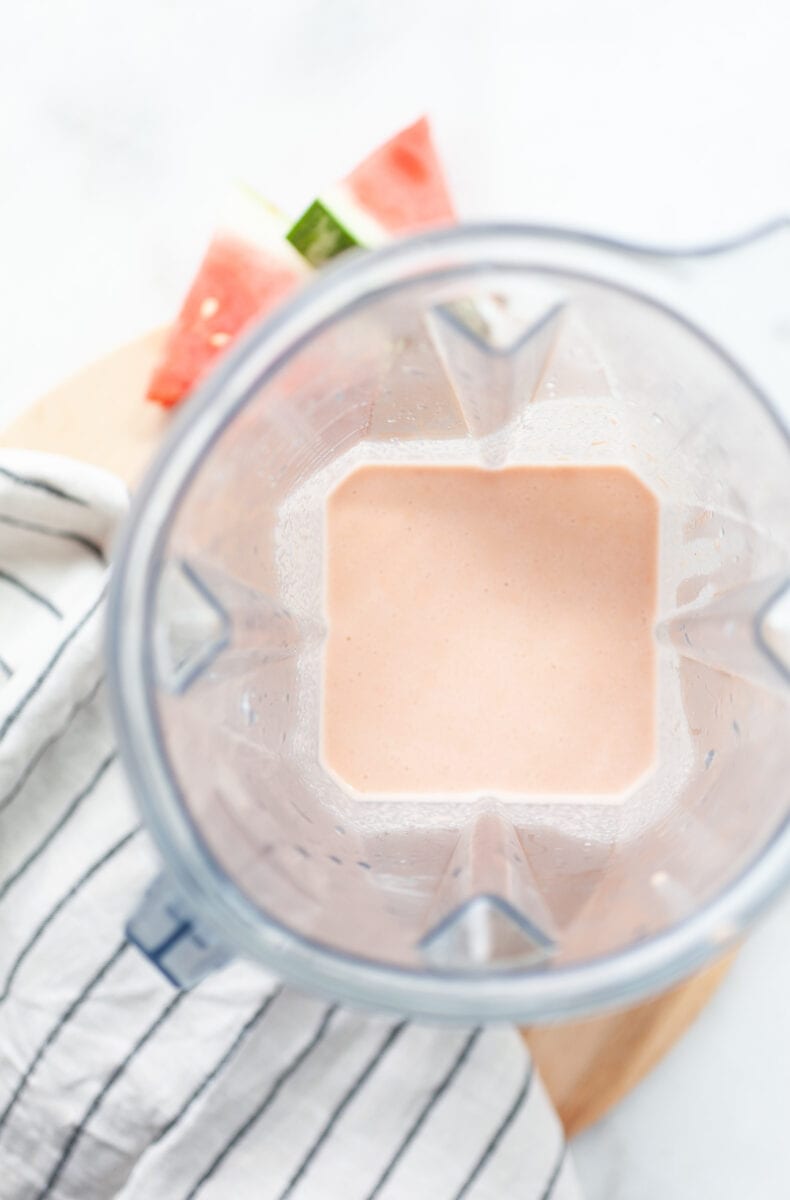
- For Option 1: Soak cashews in hot water for 10 minutes then drain and add to a high-speed blender. Blend all ingredients except for the watermelon in the blender until smooth and no cashew chunks remain. Add in the watermelon and blend again until smooth (color will be light pink).
- For Option 2: Blend all ingredients in a high speed blender until smooth (color will be more orange/dark pink).
- Pour the watermelon mixture into a large pan or into the cavities of a silicon muffin mold.
- Place in the freezer for 3 hours or until hardened.
- Transfer frozen watermelon ice cream chunks back to the blender.
- Blend until a creamy consistency is reached (using the tamper as needed as the mixture will be very thick).
- Transfer smooth ice cream to a loaf pan and place in the freezer to firm up for about 30 minutes (or you can enjoy as is straight from the blender, the consistency will just be more like soft-serve.)
- Scoop and enjoy!
Nutrition Information:
Serving Size: 1Amount Per Serving: Calories: 221Total Fat: 18gCarbohydrates: 15gFiber: 1gSugar: 11gProtein: 2g
Nutrition information is not always accurate.
Pin me!
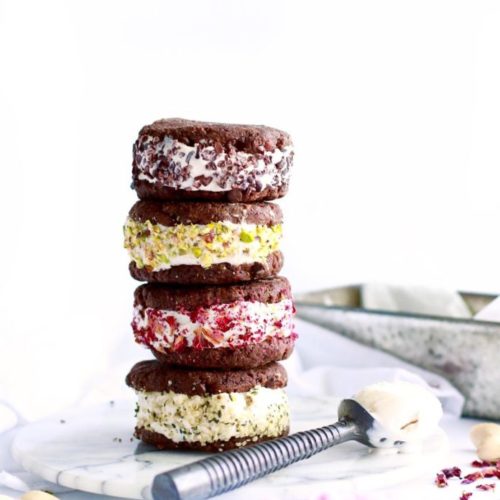
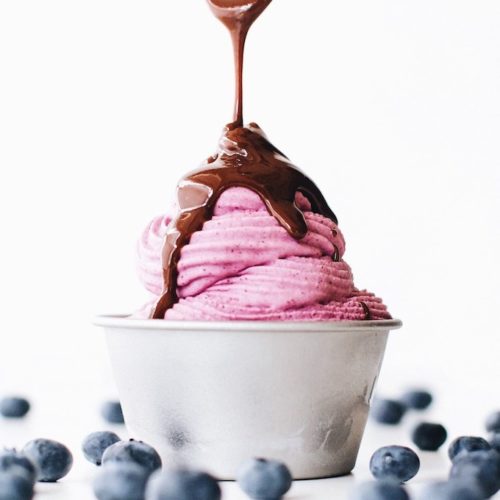
More Recipes You’ll Love:
- 12 Homemade Dairy Free Ice Cream Recipes
- 15 Healthy Vegan Ice Cream Recipes
- Best Watermelon Banana Smoothie
- 10 Healthy Popsicle Recipes


Hi!
Honey vs Agave? Is there a difference in the texture or taste?
is there a substitute for dates that isnt agave?
You can use raw honey!
This was so refreshing and delicious. Will definitely be making it again.
So glad you enjoyed it Glenda!
Hi there, just curious…does yours look more orange/brownish in real life than what the pictures looked like.
I blended in the Vitamix and was surprised by how not pink it was. I’m sure the dates are the culprit of the color change. Just curious if yours came out that way as well.
Thanks for the recipe…it’s currently chilling in the freezer. Can’t wait to try it tonight with the fam!
Hi! Mine turned out as it’s pictured as I didn’t edit these photos to enhance the pink very much. I think it’s actually the type of watermelon, some seems to be darker than others. I made a watermelon slushy recipe here:https://nutritioninthekitch.com/watermelon-turmeric-lemonade-slushies/ and you can see the watermelon is much darker, although the ice cream does have the added coconut milk, I do find the actual color of watermelon varies from melon to melon!
Hi! Just wondering why most watermelon sorbet recipes have you blend the mixture twice. I’ve made the original mixture and put it in the freezer. What stops you from just eating as is instead of reblending after it’s frozen? Thank you!
Hi Erica! The second blending makes it really nice and creamy! It’s up to you if you like the consistency right out of the freezer you can enjoy it that way too!